
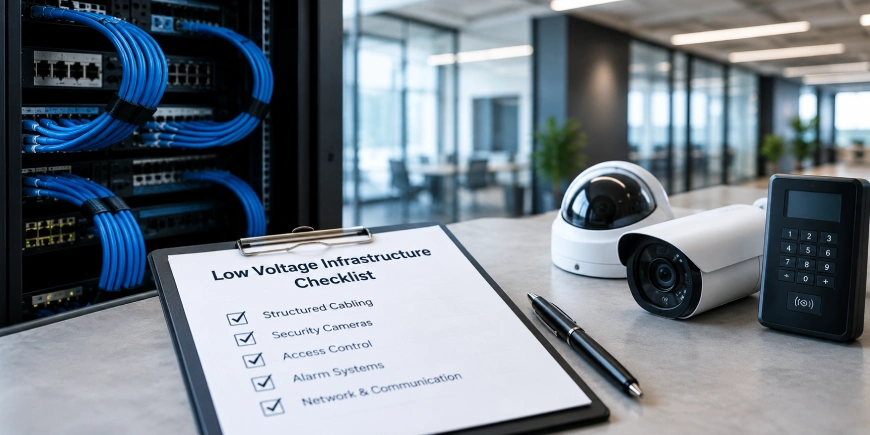
A commercial building depends on much more than electrical power. Security cameras, access control, networking, Wi-Fi, phones, building automation and other connected systems all rely on properly planned low voltage infrastructure.
A good installation starts before the first cable is pulled. This security camera installation company in Canada understands that security and communications systems work best when their cabling, pathways, equipment rooms and network requirements are considered as part of the same infrastructure plan.
This checklist covers the main areas to review when planning or upgrading a commercial property.
1. Start With a Site and Infrastructure Assessment
Before selecting equipment or cable, inspect the building and understand how it will be used.
Review:
- Building layout and floor plans
- Current cabling and equipment
- Existing telecommunications rooms
- Equipment locations
- Ceiling and wall construction
- Cable pathways
- Power availability
- Network requirements
- Security requirements
- Future expansion plans
For an existing building, documenting what is already installed can prevent unnecessary replacement and help identify infrastructure that needs improvement.
2. Plan Structured Cabling
Structured cabling is the foundation of many commercial low voltage systems. It provides organized connections between network equipment, workstations, wireless access points, cameras, access control devices and other endpoints.
A practical checklist should include:
- Horizontal copper cabling
- Fiber optic backbone where required
- Patch panels
- Data outlets
- Patch cords
- Cable labeling
- Rack organization
- Cable pathways
- Proper termination
- Testing and certification
The Telecommunications Industry Association’s TIA-568 standards cover commercial building telecommunications cabling, including infrastructure design and installation considerations. TIA also addresses pathways, spaces, administration, grounding and testing through its related standards.
3. Review Network and PoE Requirements
Modern commercial buildings often use Power over Ethernet (PoE) to deliver both data and power to compatible devices.
Check whether the network infrastructure can support:
- IP security cameras
- Wireless access points
- VoIP phones
- Access control devices
- IoT equipment
- Building management devices
Do not look only at the number of network ports. Check switch capacity, PoE power budgets, uplink capacity and expected future demand.
4. Include Security Camera Infrastructure
Security cameras should be considered during the low voltage design stage rather than added as an afterthought.
Identify camera locations around:
- Main entrances
- Employee entrances
- Parking areas
- Loading docks
- Hallways
- Stairwells
- Storage areas
- Perimeters
- Critical equipment areas
Also plan the cable routes, network connections, PoE requirements, recording equipment and storage requirements.
A camera installation can be technically functional while still providing poor coverage if infrastructure planning is rushed.
5. Plan Access Control Cabling
Access control systems require more than card readers at doors. The infrastructure may include readers, electronic locks, request-to-exit devices, door contacts, controllers, power supplies and network connections.
For each controlled door, document:
- Reader location
- Door hardware
- Controller location
- Cable route
- Power requirements
- Emergency-release requirements
- Door position monitoring
- Network connection
- Future maintenance access
Coordination between the security installer, electrical contractor, door-hardware provider and building team can prevent expensive rework.
6. Check Telecommunications Rooms and Equipment Racks
Telecommunications rooms should be planned around the equipment they will house.
Review:
- Rack space
- Patch panels
- Network switches
- Fiber termination
- Cable management
- Equipment ventilation
- UPS protection
- Grounding and bonding
- Physical access
- Expansion space
Avoid filling racks to their practical limit on day one. Leaving room for additional equipment makes future upgrades much easier.
7. Inspect Pathways and Cable Management
Good cable management improves both reliability and maintenance.
Check for suitable:
- Cable trays
- Conduits
- J-hooks
- Sleeves
- Vertical pathways
- Horizontal pathways
- Penetrations
- Firestopping
Cables should be routed neatly and protected from conditions that could damage them. Pathways should also allow technicians to add or replace cables without dismantling large sections of the installation.
8. Separate and Protect Different Systems
Not every low voltage cable should simply share the same route.
The infrastructure plan should account for separation from sources of electrical interference and comply with applicable building, electrical, fire and telecommunications requirements.
Where different systems share pathways or spaces, verify that the installation method fits the specific cables and environment.
9. Label Everything
Poor labeling is one of the easiest ways to create future maintenance problems.
Every important cable and termination point should have a consistent identification system.
Label:
- Patch panel ports
- Data outlets
- Camera connections
- Access control connections
- Fiber strands
- Network racks
- Equipment
- Telecommunications rooms
A technician should be able to trace a connection without guessing where the cable goes.
10. Test and Certify the Installation
Testing should be part of the project, not something left until a problem appears.
Depending on the system, testing may include:
- Copper cable certification
- Fiber testing
- Continuity testing
- Network performance testing
- PoE verification
- Camera connectivity
- Access control communication
- Equipment connectivity
TIA’s cabling work specifically includes installation and field-testing requirements, reinforcing why testing should be treated as part of proper infrastructure delivery rather than an optional final step.
11. Prepare Documentation
A professional project should finish with useful documentation.
Keep records of:
- Cable routes
- Cable labels
- Rack layouts
- Patch panel assignments
- Network connections
- Camera locations
- Access control doors
- Equipment models
- Test results
- As-built drawings
- Warranty information
Good documentation saves time when the building is expanded, equipment fails, or another technician needs to troubleshoot the system.
12. Plan for Future Expansion
Commercial technology changes quickly. A building designed only for today’s requirements can become difficult and expensive to upgrade.
When planning low-voltage infrastructure services, consider future capacity for:
- Additional cameras
- More access-controlled doors
- Additional wireless access points
- New network equipment
- IoT devices
- Building automation
- Additional workstations
- Higher network speeds
Spare pathways, rack capacity and properly planned cabling can make future expansion much less disruptive.
Low Voltage Infrastructure Checklist
Before signing off on a commercial project, confirm:
- ☐ Site assessment completed
- ☐ Floor plans reviewed
- ☐ Cabling requirements documented
- ☐ Copper cabling planned
- ☐ Fiber backbone requirements reviewed
- ☐ Network and PoE capacity calculated
- ☐ Security camera locations identified
- ☐ Access control doors documented
- ☐ Telecommunications rooms planned
- ☐ Racks and cable management selected
- ☐ Pathways and penetrations reviewed
- ☐ Cable labeling standard established
- ☐ Systems properly separated
- ☐ Cabling tested
- ☐ Equipment tested
- ☐ As-built documentation completed
- ☐ Expansion capacity considered
Low Voltage Infrastructure in Halifax, Ottawa and Calgary
The basic principles apply across commercial projects, but each building has its own requirements.
Whether planning low-voltage infrastructure in Halifax, Ottawa, or Calgary, the design should account for the property’s size, construction, existing infrastructure, security requirements, network usage and future expansion.
For renovations, the challenge is often working around existing occupants and infrastructure. For new construction, early coordination between trades can reduce delays and avoid expensive changes later.
Conclusion
The Complete Low Voltage Infrastructure Checklist is ultimately about creating an organised, reliable foundation for the technology a commercial building depends on.
The best results come from planning the cabling, pathways, security systems, network equipment, testing, documentation and future capacity together. A low-voltage infrastructure company should be able to explain what is being installed, why it is required, how it will be tested and how the system can be maintained later.
AlfaDefence.io provides commercial security and low voltage infrastructure solutions designed around the building’s current requirements while keeping future expansion in mind.
FAQs
- What should be included in a commercial low voltage infrastructure checklist?
A commercial checklist should cover structured cabling, fiber, network equipment, PoE, security cameras, access control, telecommunications rooms, pathways, cable management, labeling, testing, documentation and future capacity. Reviewing these areas before installation helps reduce rework and creates a more organized infrastructure for ongoing building operations.
- What are the most important low voltage infrastructure services for commercial buildings?
Common services include structured cabling, fiber optic installation, network cabling, security camera infrastructure, access control cabling, telecommunications room setup, cable management, testing and documentation. The exact combination depends on the building’s size, technology requirements, security objectives, existing infrastructure and plans for future expansion.
- How should I plan low voltage infrastructure in Halifax, Ottawa, or Calgary?
Start with a site assessment, building plans, current technology requirements and future expansion needs. Then plan cabling routes, equipment rooms, security systems, network capacity and testing. Local building conditions and applicable codes should also be reviewed before installation begins.
- Why is structured cabling important for commercial low voltage infrastructure?
Structured cabling creates an organised foundation for data, security cameras, wireless access points, phones, access control and other connected systems. Proper design makes troubleshooting easier, reduces cable clutter, supports reliable performance and gives the building more flexibility when technology requirements change.
- How do I choose a low voltage infrastructure company?
Look for a company that can explain its design process, installation methods, testing procedures, documentation and experience with commercial environments. Ask whether the project includes labelling, test results, as-built documentation and planning for future expansion rather than focusing only on the initial installation price.
- Should low voltage cabling be tested after installation?
Yes. Testing confirms that installed cabling meets the required performance criteria and that connections are functioning correctly. Depending on the system, testing may include copper certification, fiber testing, connectivity checks and PoE verification. Proper documentation of results also makes future troubleshooting easier.