
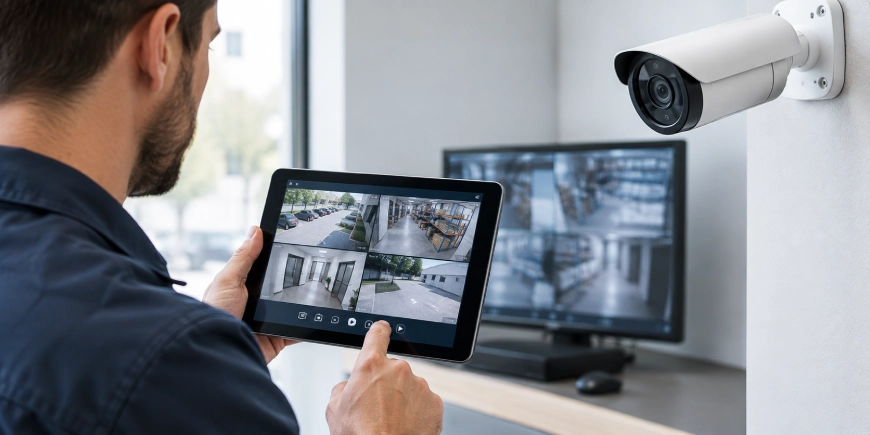
Installing security cameras is only the first step. A system may look complete while still having blind spots, poor nighttime images, recording problems, or unreliable remote access.
Knowing how to test your security camera system after installation helps confirm that every camera, recorder, network connection and security feature works as intended. Whether you manage a home, office, warehouse, school, or commercial property, a proper commissioning check can prevent problems when you actually need recorded footage.
If you are planning a new system, working with a professional Security Camera Installation Company in Canada can also help ensure testing is included as part of the installation process.
1. Check Every Camera’s Physical Position
Start with the basics. Walk around the property and compare each camera’s actual view with the intended coverage area.
Check whether:
- Entrances and exits are clearly visible
- Important doors and gates are not blocked
- Vehicles and parking areas are covered
- Camera angles have not shifted
- Walls, signs, trees, or equipment are blocking the view
- The camera is securely mounted
A camera can be working perfectly but still provide limited security if its angle is wrong.
For commercial properties, pay particular attention to areas such as loading bays, cash-handling areas, storage rooms, employee entrances and restricted-access zones.
2. Test Video Quality During the Day
Open the live view for every camera and check the image carefully.
Look for:
- Clear facial and object details
- Correct focus
- Proper brightness
- Natural colours
- Excessive glare
- Distortion
- Flickering
- Unusual lines or interference
Do not judge image quality only from the monitor used for installation. View the system from the normal workstation, mobile application, or client device that authorized users will actually use.
If the image looks sharp in one area but washed out in another, the camera may need adjustment.
3. Test Night Vision and Low-Light Performance
A common installation mistake is testing cameras only during daylight.
After dark, check every camera again. Confirm that infrared or other low-light features activate correctly and that important areas remain visible.
Pay attention to:
- Dark corners
- Headlights
- Street lighting
- Reflections from glass
- Bright entrances
- Shadows
- Faces approaching the camera
A camera that produces a good daytime image may need different positioning or settings at night.
4. Verify Camera Coverage and Blind Spots
Walk through the property while watching the live camera feeds.
Move through areas where a person might enter, leave, or approach the building. Check whether the person’s movement remains visible from one camera to another.
This is especially important for larger properties.
Test:
- Main entrances
- Emergency exits
- Perimeter areas
- Parking lots
- Hallways
- Stairways
- Service entrances
- Restricted areas
The goal is not necessarily to make every camera cover everything. Instead, the system should provide useful coverage of the areas that matter most.
5. Test Video Recording
A security camera is not doing its full job if it displays live video but fails to record it.
Check the recorder or storage platform and confirm that footage is being saved correctly.
Test:
- Start a short recording.
- Wait several minutes.
- Open playback.
- Locate the recorded event.
- Confirm the correct camera, date and time.
- Fast-forward and rewind the footage.
- Export a short video clip if the system supports it.
Also check whether all cameras are recording rather than assuming the entire system is working because one camera is.
6. Check Date, Time and Recording Settings
Accurate timestamps are extremely important when reviewing an incident.
Verify that:
- The date is correct
- The time is correct
- The time zone is correct
- Daylight-saving settings are handled correctly where applicable
- Camera and recorder timestamps are synchronised
A recording with the wrong time can make an otherwise useful security investigation much more difficult.
7. Test Motion Detection and Alerts
If the system uses motion detection, test it in real conditions.
Walk through the detection area and see whether the system generates the expected event or notification.
Depending on the system, test:
- Motion alerts
- Mobile notifications
- Email alerts
- Person detection
- Vehicle detection
- Line-crossing alerts
- Intrusion zones
Do not make detection zones unnecessarily sensitive. Excessive notifications can create false alarms and cause users to ignore important events.
8. Test Remote Access
If authorised users need to monitor the system remotely, test access outside the local network.
Use the approved mobile application or web interface and confirm that users can:
- View live cameras
- Review recorded footage
- Receive alerts
- Search events
- Export footage, if permitted
Remote access should also be tested from the type of connection users will normally rely on.
For systems connected to the internet, security settings should not be overlooked. CISA recommends changing default credentials, keeping systems updated and reducing unnecessary internet exposure.
9. Test Network and Power Reliability
A properly installed security camera system depends on more than cameras and recording equipment.
Check whether:
- Cameras remain connected to the network
- PoE connections are stable
- Network switches have sufficient capacity
- The recorder communicates with every camera
- Power supplies are secure
- UPS equipment works if installed
For important commercial sites, ask the security camera system installation service provider what happens if power or network connectivity is interrupted.
A short outage test can reveal weaknesses before a real incident occurs.
10. Create a Final Testing Checklist
Before signing off on a security camera system installation, document the results.
A useful checklist should include:
| Test | Status |
| Camera position | Pass / Fix |
| Daytime image | Pass / Fix |
| Night vision | Pass / Fix |
| Camera coverage | Pass / Fix |
| Recording | Pass / Fix |
| Playback | Pass / Fix |
| Date and time | Pass / Fix |
| Motion detection | Pass / Fix |
| Remote access | Pass / Fix |
| Notifications | Pass / Fix |
| Network connection | Pass / Fix |
| Power backup | Pass / Fix |
Documenting these checks gives the property owner a clear record of what was tested and what, if anything, needs adjustment.
When Should a Professional Installer Test the System?
Testing should be part of the commissioning process, not an afterthought.
An experienced security camera system installer can check camera positioning, recording settings, network connectivity, storage, remote access and system configuration together. This is particularly useful for larger commercial and industrial properties where one poorly configured camera can leave an important area unprotected.
For security camera system installation in Halifax, security camera system installation in Ottawa, or security camera system installation in Calgary, the same testing principles apply, but the checklist should reflect the property’s layout, operating hours, network infrastructure and security priorities.
Conclusion
Knowing how to test your security camera system after installation helps ensure the system provides useful protection rather than simply looking complete.
Test every camera, verify coverage, check daytime and nighttime footage, confirm recording and playback, test alerts and remote access and document the results. These simple steps can uncover problems before they become costly or frustrating.
At AlfaDefence.io, proper installation should include attention to how the complete surveillance system performs in real-world conditions, not just whether the cameras turn on.
FAQs
- How do I test my security camera system after installation?
Start by checking each camera’s position, image quality, nighttime view and coverage. Then verify recording, playback, timestamps, motion detection, alerts, remote access, network connectivity and power. Test the system under normal operating conditions and document any camera or configuration that requires adjustment.
- How do I test a security camera’s night vision?
Test each camera after dark and review both live and recorded footage. Check whether the area remains visible, faces can be identified and infrared lighting creates excessive glare or reflections. Headlights, glass, bright lights and dark corners should also be checked during nighttime testing.
- How can I check if my security cameras are recording?
Trigger a camera event and wait several minutes before opening playback. Select the correct camera, date and time, then locate the event. Confirm that the footage plays normally and that recording continues. Repeat this process for every camera rather than testing only one channel.
- What should I test after a security camera system installation?
A complete test should cover camera positioning, image quality, night vision, coverage, recording, playback, timestamps, motion detection, notifications, remote viewing, network connections and power. A professional security camera system installation service should verify these functions before handing the system over to the property owner.
- Why is testing important after CCTV system installation?
Testing can identify problems that are not obvious during installation, such as blind spots, incorrect timestamps, poor nighttime images, failed recording, weak network connections, or unwanted alerts. Finding these issues early allows the installer to correct them before the system is needed.
- Should a professional test my security camera system?
Professional testing is particularly useful for larger homes, businesses, warehouses, industrial facilities and multi-camera properties. A qualified security camera system installer can test the cameras, recorder, network, storage, alerts and remote access as one integrated system and document the final results.